How To Install VNC Server on CentOS 7
 How To Install VNC Server on CentOS 7
VNC is a desktop sharing program which helps you share your desktop and user can control your machine from another machine/location andi able to perform tasks remotely.
This guide helps you to install VNC server on CentOS 7.
Prerequisites
Before installing the VNC server, make sure the system has the GNOME desktop environment installed
Install VNC Server
The VNC server package (TigerVNC) is available in the CentOS base repository. So, simply install the TigerVNC server and X11 fonts package using the yum command.
yum install -y tigervnc-server xorg-x11-fonts-Type1
Dependencies Resolved
======================================================================================================== Package Arch Version Repository Size
Installing: tigervnc-server x86_64 1.8.0-13.el7 base 215 k xorg-x11-fonts-Type1 noarch 7.5-9.el7 base 521 k
Transaction Summary
Install 2 Packages
Total download size: 736 k Installed size: 1.3 M Downloading packages: (1/2): tigervnc-server-1.8.0-13.el7.x86_64.rpm | 215 kB 00:00:04 (2/2): xorg-x11-fonts-Type1-7.5-9.el7.noarch.rpm | 521 kB 00:00:05
Total 127 kB/s | 736 kB 00:00:05 Running transaction check Running transaction test Transaction test succeeded Running transaction Installing : tigervnc-server-1.8.0-13.el7.x86_64 1/2 Installing : xorg-x11-fonts-Type1-7.5-9.el7.noarch 2/2 Verifying : xorg-x11-fonts-Type1-7.5-9.el7.noarch 1/2 Verifying : tigervnc-server-1.8.0-13.el7.x86_64 2/2
Installed: tigervnc-server.x86_64 0:1.8.0-13.el7 xorg-x11-fonts-Type1.noarch 0:7.5-9.el7
Complete!
Configure VNC Server
Copy the VNC server’s service configuration file to /etc/systemd/system/. While copying, you can mention which port number the VNC server should listen.
By default VNC server listens on port 5900. But, if you setup port-offset for VNC, you can run VNC service on a sub-port of the default port 5900.
For example, if we mention port 1, the desktop will be accessible in 5901. You can connect to the VNC session by specifying ipaddress:sub-port (192.168.1.10:1 or 192.168.1.10:5901)
cp /lib/systemd/system/vncserver@.service /etc/systemd/system/vncserver@:1.service
Edit the copied file.
vi /etc/systemd/system/vncserver@:1.service
Go to the end of the file. You will find the below lines.
[Service] Type=forking
Clean any existing files in /tmp/.X11-unix environment
ExecStartPre=/bin/sh -c ‘/usr/bin/vncserver -kill %i > /dev/null 2>&1 || :’ ExecStart=/usr/sbin/runuser -l <USER> -c “/usr/bin/vncserver %i” PIDFile=/home/<USER>/.vnc/%H%i.pid ExecStop=/bin/sh -c ‘/usr/bin/vncserver -kill %i > /dev/null 2>&1 || :’
[Install] WantedBy=multi-user.target
Replace <USER> with your real user by whom you will connect to VNC desktop session. Here, I replaced with a user called linuxbees.
[Service] Type=forking
Clean any existing files in /tmp/.X11-unix environment
ExecStartPre=/bin/sh -c ‘/usr/bin/vncserver -kill %i > /dev/null 2>&1 || :’ ExecStart=/usr/sbin/runuser -l linuxbees -c “/usr/bin/vncserver %i” PIDFile=/home/linuxbees/.vnc/%H%i.pid ExecStop=/bin/sh -c ‘/usr/bin/vncserver -kill %i > /dev/null 2>&1 || :’
[Install] WantedBy=multi-user.target
Firewall
Update the firewall rules to allow the VNC connection. The following rule will allow our port-offset 5901 so that VNC viewer can connect to CentOS 7.
firewall-cmd –permanent –add-port=5901/tcp
firewall-cmd –reload
Start VNC Server
Start VNC server after switching to user linuxbees and set the password for VNC.
[linuxbees@server ~]$ vncserver
Password: Verify: Would you like to enter a view-only password (y/n)? N A view-only password is not used xauth: file /home/linuxbees/.Xauthority does not exist
New ‘server.linuxbees.local:1 (linuxbees)’ desktop is server.linuxbees.local:1
Creating default startup script /home/linuxbees/.vnc/xstartup Creating default config /home/linuxbees/.vnc/config Starting applications specified in /home/linuxbees/.vnc/xstartup Log file is /home/linuxbees/.vnc/server.linuxbees.local:1.log
Enable VNC Server
Switch to the root user.
su –
Reload the systemctl daemon as root.
systemctl daemon-reload
Start the VNC service as root.
systemctl start vncserver@:1.service
Enable it on system startup as root.
systemctl enable vncserver@:1.service
Check the VNC service status.
systemctl status vncserver@:1.service
Apr 22 08:50:56 server.linuxbees.local systemd[1]: Starting Remote desktop service (VNC)… Apr 22 08:51:32 server.linuxbees.local systemd[1]: Started Remote desktop service (VNC).
Access VNC Desktop
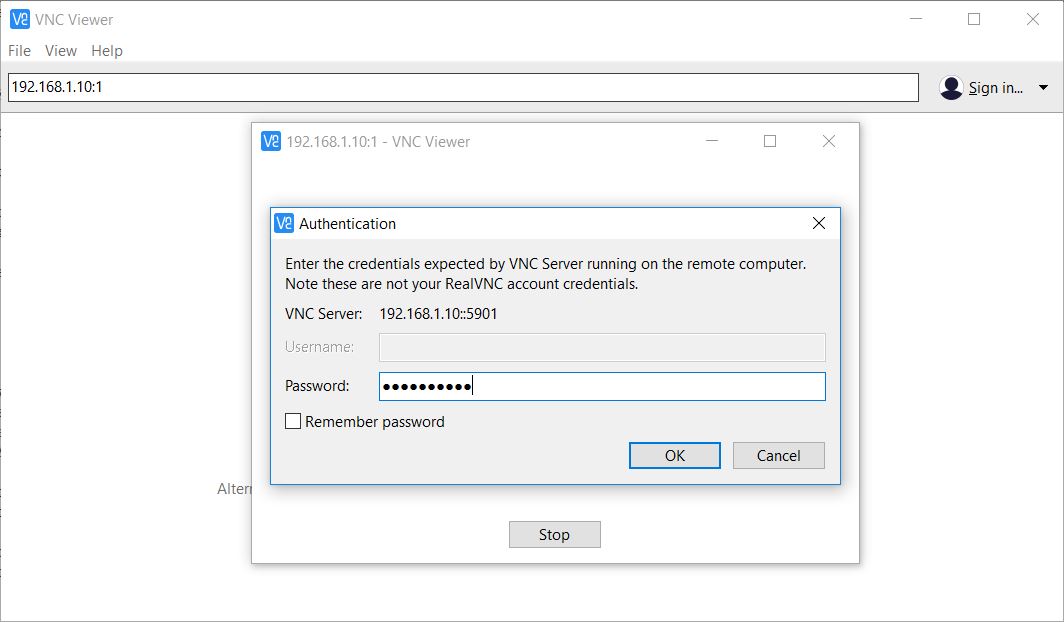
Open up a VNC viewer from Windows machine and enter a remote desktop address.
OR
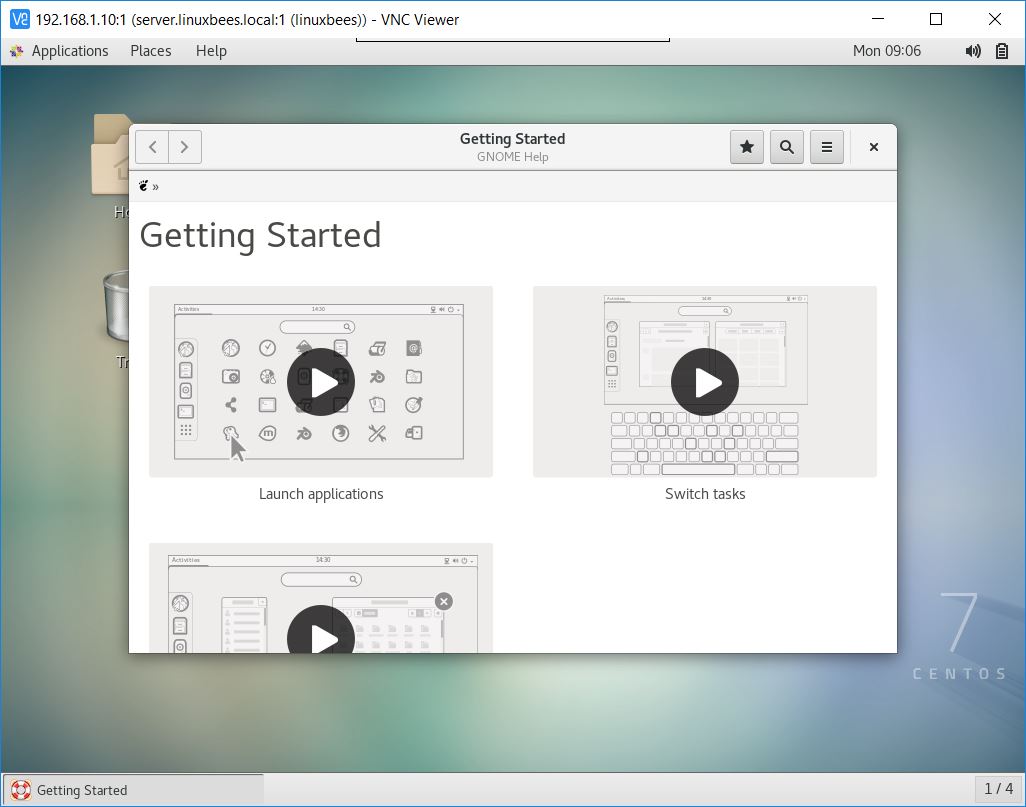
VNC viewer will prompt you for the password. Enter the password that you have created a few steps back.
Now you should get the VNC desktop session of user linuxbees.
Conclusion
That’s All. You have learned how to install VNC server on CentOS 7 and connect to the VNC desktop session using VNC viewer. Share your feedback in the comments section.