How To Install Node.js on Ubuntu 18.04
 How To Install Node.js on Ubuntu 18.04
Node.js is a free, open-source, cross-platform runtime environment for building fast and scalable web applications and network tools.
Node.js built on Google’s V8 JavaScript engine and is used for server-side scripting, takes the critical role as a back end in full-stack web development. It has an event-driven architecture and a non-blocking Input/Output API which makes Node.js fast and scalable.
Here, we will see steps to install Node.js on Ubuntu 18.04 from NodeSoure, Ubuntu repository and using the snap.
Node.js Releases
NodeSource offers two versions of Node.js for its users to develop applications.
- v10.x (Long Term Supported)
- v11.x (Current Latest Version)
Prerequisites
Install below packages for building native add-ons.
sudo apt install -y build-essential gcc g++ curl
Install Node.js via NodeSouce
NodeSource maintains Node.js packages for the Ubuntu operating system. Set up the repository based on the Node.js version you want to install it on your machine.
curl -sL https://deb.nodesource.com/setup_10.x | sudo -E bash -
Node.js v11.x:
curl -sL https://deb.nodesource.com/setup_11.x | sudo -E bash -
After adding the NodeSource PPA on your machine, install the Node.js by using the apt command. This will also install npm (Node Package Manager) along with Node.js.
sudo apt install -y nodejs
Check the version of Node.js version using the following command.
nodejs -v
Check the NPM version using the following command
npm -v
Install Node.js via Ubuntu Repository
Installing Node.js from Ubuntu repository is a straight forward one. At this time, the Ubuntu repository provides Node.js v8.x for the installation which lags behind compared to the LTS or current latest release. The v8.x is supported till 31st December 2019.
Update the repository index using the below command.
sudo apt update
Install Node.js using the apt command.
sudo apt install -y nodejs
Check the version of Node.js version using the following command.
nodejs -v
Check the NPM version using the following command
npm -v
Install Node.js using Snap
The NodeSource also offers Node.js snap; a containerized Node.js run time environment along with widely-used package managers, npm and Yarn. The main advantage of running Node.js snap is that you will have a new version of Node.js automatically running on the same day it is released on nodejs.org
sudo snap install node --classic --channel=10
Replace 10 for the major version you want to install. Both LTS and Current versions of Node.js are available via snap.
Check the version of Node.js version using the following command.
node -v
Check the NPM version using the following command
npm -v
Create First Web Server
To test the Node.js installation, we will build a web server and run with Node.js.
Let’s create a file called server.js.
nano server.js
Place the below content into the server.js file.
const hostname = ‘192.168.1.10’; const port = 3000;
const server = http.createServer((req, res) => { res.statusCode = 200; res.setHeader(‘Content-Type’, ‘text/plain’); res.end(‘Hello World\n’); });
server.listen(port, hostname, () => {
console.log(Server running at http://${hostname}:${port}/);
});
Now, run the web server with Node.js.
nodejs --inspect server.js
OR
node --inspect server.js
You should get the following message on your terminal.
The above message confirms that the web server is listening on port 3000.
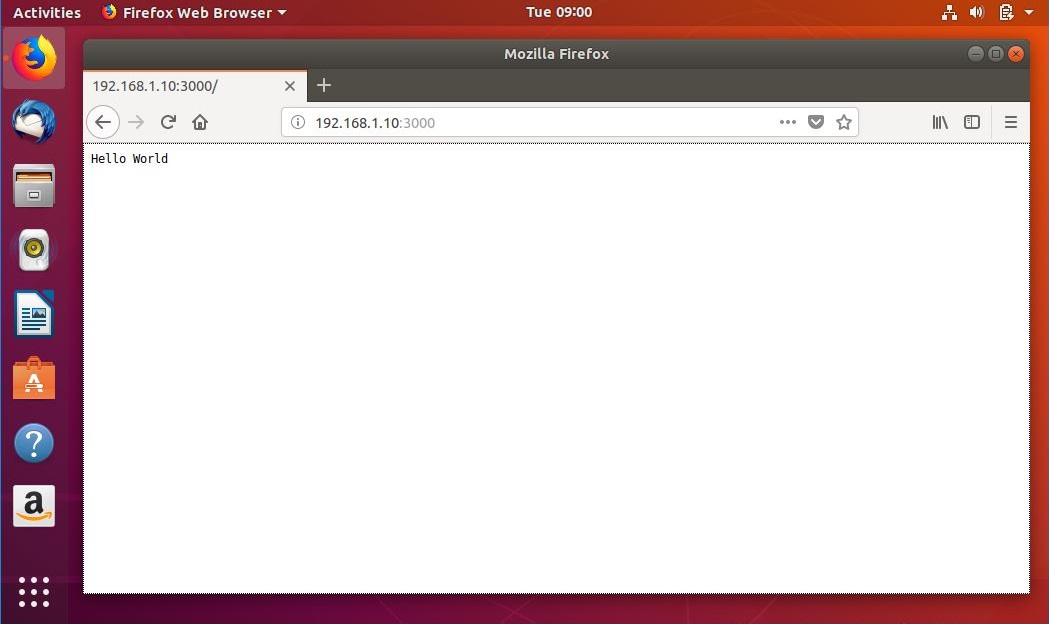
Now, open a browser and go to the below address.
You should get the web page like below.
Conclusion
You have successfully installed Node.js on Ubuntu 18.04 and created your web server with Node.js. Node.js offers lots of documents to get started with Node.js. Please leave your comments and feedback.